
Although NAV is originally a European Software Product, the NA or North American Edition has been localized to the United States market significantly. On the AP side of the System the 1099 functionality required by the IRS has been added. The 1099 Setup in NAV 2016 supports all types of 1099 classification and the setup an utilization of the function is very intuitive.
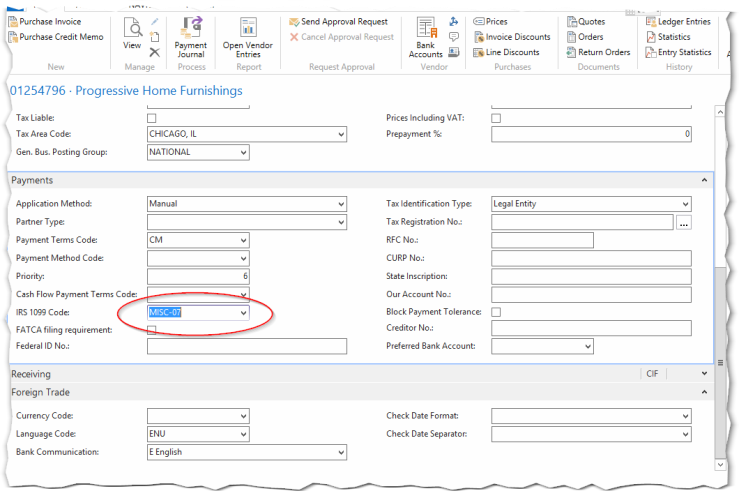
First you must flag a specific Vendor to be classified as a 1099 Vendor. In the Vendor Maintenance window, select the proper type for the Vendor in question.
Once the Vendor has been properly categorized, you can also review each individual transactions as well. As you know, even though a 1099 Vendor’s transactions must be flagged, there maybe some transactions that do not count towards the annual 1099 amount for the vendor. You can make those changes on the individual transaction.

The IRS 1099 Amount column is not usually visible by default. To view this column in the line window, RIGHT-CLICK on any heading and select the CHOOSE column option. Make sure to insert the IRS 1099 Code column to your view.
It is important that you tag a Vendor at the BEGINNING of your financial dealings with them as the system will only track 1099 Info after you select the proper box in the Vendor Maintenance window. This is why we suggest using the Workflow process in NAV 2016 when onboarding a new Vendor.
As always, if there any more great Dynamics NAV features we can assist you with, please feel free to reach out to our team at Tel. (855) 227-0700 or via e-mal at Sales@CBRTEchnology.com.
